
Buckmore Park is what I'd call a driver's track. It is easy to learn your way around and far harder to master than most people give it credit for. It packs a lot of undulating twists and turns into its up and downhill sections, with flat-out stretches, mid-speed corners and hairpins. The track is wide, so it is a great place for drivers who like to overtake.
I'm not a pro, and quicker drivers will disagree with some of this. The guide is for beginners and intermediate drivers who are visiting Buckmore for the first time or still learning, and it assumes a four-stroke hire kart.
Read the corner-by-corner guide
Conways (turns 1 and 2)
The start-finish line is at the top of the circuit. You usually take it flat out, and it leads quickly into turns 1 and 2. These are really one corner, Conways, and in the dry you can take them almost flat out. Stay on the left as you cross the line. Just before turn 1, drift over to the right so that you enter the corner hugging the kerb. That gives you a quick entry and makes it harder for someone to dive up the inside.
The kart will drift out to the left in the middle of the corner, which is fine. As you exit turn 2, move back to the inside and accelerate. Then drift over to the left of the track, ideally still flat out, as you head down to the first hairpin. If you are chasing someone and got a good run out of turn 2, you can often pull alongside here and go up the inside.
Hairpin 1 and Hairpin 2
The braking point for Hairpin 1 is usually around the line in the tarmac. Take care here. It is the most dangerous corner on the track and the place where most people spin. Get your braking done, then aim for a late apex so that the kart moves out to the left as you exit. You should end up touching the exit kerb, which tells you the line is right.
Hairpin 2 arrives very quickly. Move out to the right and brake a little late, because this corner also wants a late apex. If you miss it you can't get on the power early, and you lose time into the fastest part of the track. Aim for the exit kerb on the right without running wide, then go to full throttle into the Esses.
The Esses and Symes Sweep
Take the first part of the S-bend early, using the kerb, then drive straight over the middle section. You can do this flat out. It lets you drift out to the left and head downhill towards Symes Sweep. This is a very fast section, so be careful. Move over to the right, hit the apex and exit a couple of kart widths from the right-hand edge of the track.
Pullmans and Paddock
If you get Symes Sweep right, you can fly into Pullmans on the left, with a touch of brake, and exit as straight as possible on the left-hand side of the track. If you ran wide in Symes Sweep you will be slow through here, so practise that one first.
You then arrive at Paddock at pace. It is at the bottom of the hill and needs heavy but careful braking. I usually take it from well over on the left. If someone is close behind, stay a bit further right to defend. Brake early, set yourself up for the turn and get back on the power through the middle of the corner for the best exit speed. The kart will move to the left of the track as you do.
Garda and the Senna Chicane
Garda sits at the top of a small hill and is the key to a good lap time. Most beginners lose out here. You will be on the left of the track already. Brake reasonably late, take the apex as late as you dare, then get the kart three quarters of the way over to the right ready to go left into the Senna Chicane. The chicane is at the bottom of the hill, so carry as much speed as you can. Hit it in the middle, drift out to the right and keep the power down.
Cafe Corner and back to the line
As you head up the hill you reach Cafe Corner. Take it flat out, as close to the fence as you dare. Keep the power on past the kerb on the outside, which is not a corner but does catch beginners out, and head back to the start-finish line.
Watch my onboard lap from the opening Club100 round at Buckmore Park in February 2012 on YouTube
Videos of Buckmore Park Kart Circuit
-
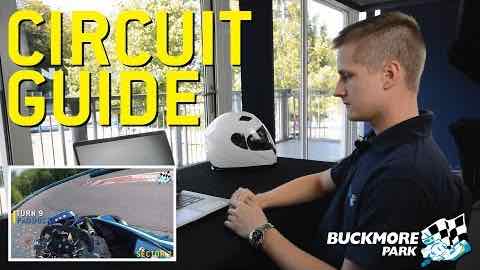 Play In-depth Buckmore Park Circuit Guide (1:38)
In-depth Buckmore Park Circuit Guide
The circuit's own guide. Their in-house driver talks through braking points, apexes and corner names.
-
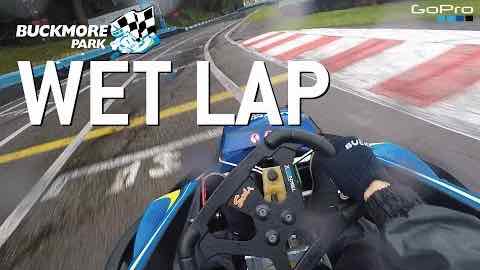 Play Buckmore Park Wet Lap | In The Rain On Slicks (1:34)
Buckmore Park Wet Lap | In The Rain On Slicks
The circuit's own wet lap, driven on slick tyres.
-
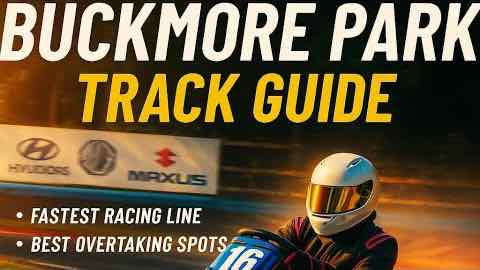 Play Buckmore Park Track Guide and overtaking tips (8:25)
Buckmore Park Track Guide and overtaking tips
A corner-by-corner guide with the racing line and the places to overtake.
These videos are made by other people and hosted on YouTube. Pressing play loads the video from YouTube, which may set cookies. Links last checked .